Microsoft is now paying just as much attention to the ways you can customize Windows as it is to the ways it works. Personalizing your computer makes your Windows OS experience better as a whole. Now, in Windows 11, you can put stickers on the background of your desktop. To be exact, this feature is only available in Windows 11 version 22H2, so it is not yet available on the stable channel. So, if you want to try out these new stickers right now, you must be subscribed to the Insider Dev channel or the Beta channel. Since the feature is still being tested, you have to turn it on before you can use these stickers. Today, we’ll show you how to turn on desktop stickers and add them to a Windows 11 computer. Also Read- Fix Windows Defender Service Not Starting on Windows 11
How To Enable and Add Stickers on Windows 11
Thinking about adding the stickers on your desktop? Well, let’s look at exactly how you can do it. The instructions are bifurcated into two parts, so do follow the same in the correct order.
How To Enable and Add Stickers on Windows 11Part 1: Enable StickersPart 2: How To Add Stickers to Windows 11Wrapping Up
Part 1: Enable Stickers
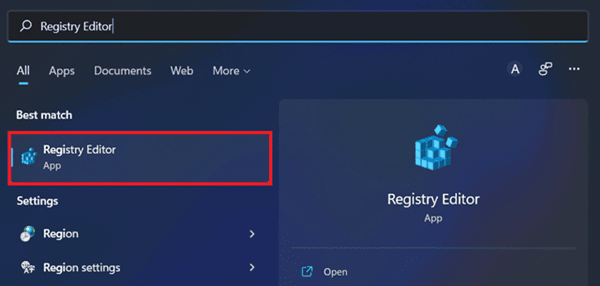
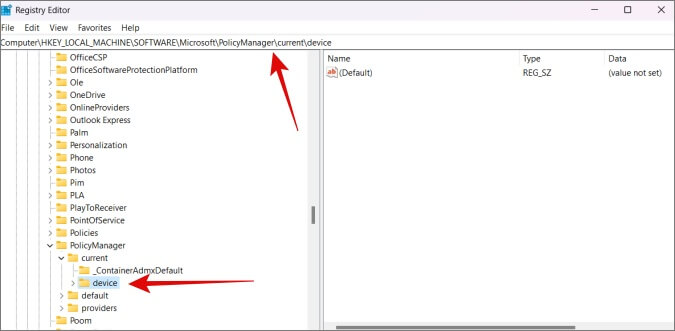
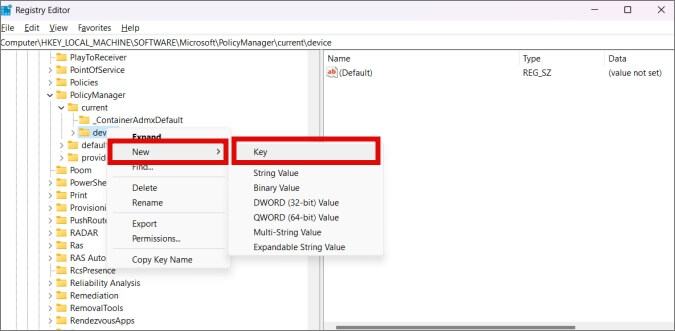
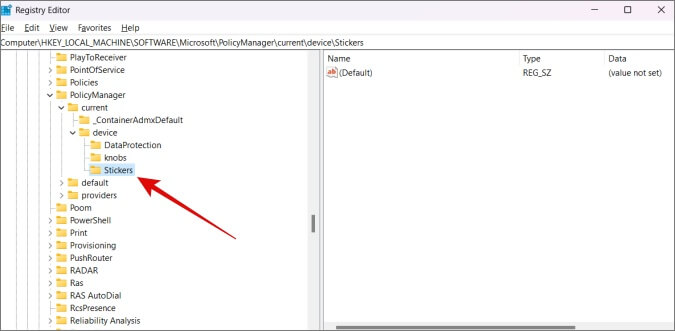
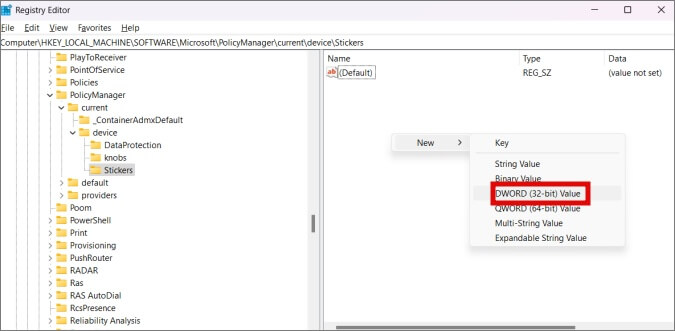
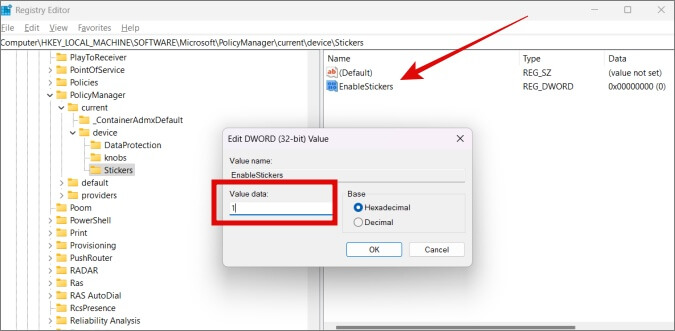
The first part enables stickers using the Registry Editor on Windows 11. Registry Editor is a graphical interface where users can change, delete, add, and alter the registries on Windows OS with ease.
Part 2: How To Add Stickers to Windows 11
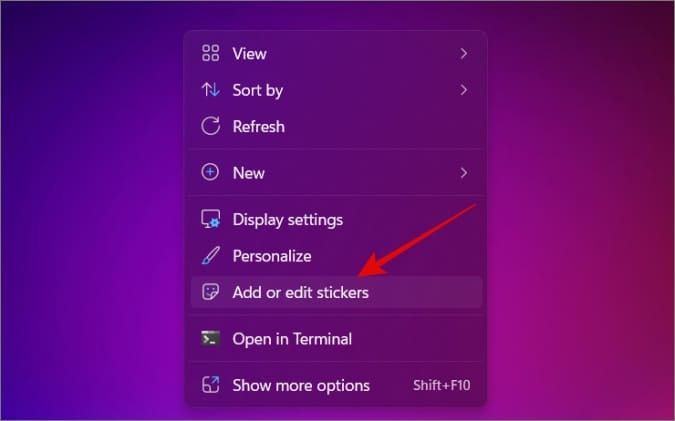
This is part 2 of this particular technique on how to enable and add stickers. Let’s see how it goes.
Wrapping Up
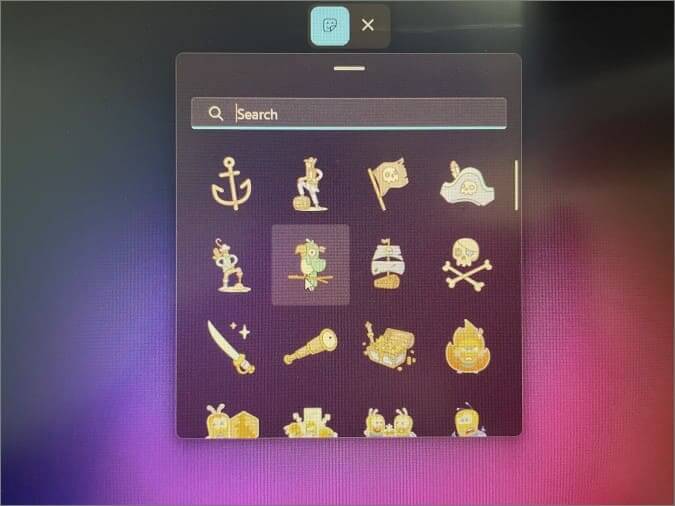
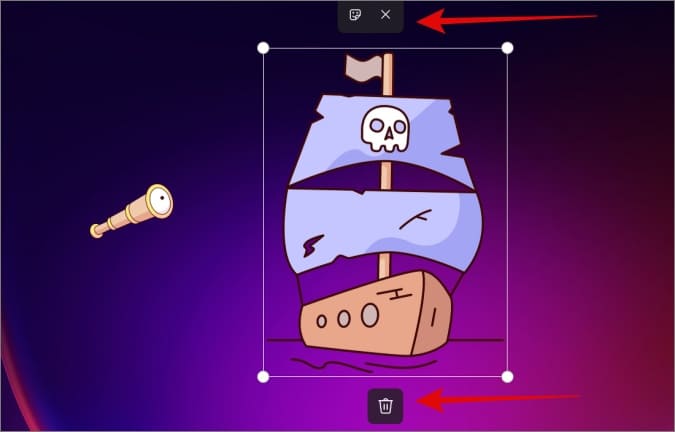
You can edit, remove and delete any stickers from the desktops. And with that, you have successfully added stickers on your desktop that will stay put unless you delete them manually. Microsoft hasn’t added the functionality to add your stickers yet, so let’s keep that on the side of the burners.

